

How to Add Newsletter Subscription in Medusa with Mailchimp
A Step-to-Step Guide to Adding Newsletter Subscriptions with Mailchimp in Medusa


Medusa is an open source, composable commerce platform designed for developers. With its flexible architecture, Medusa enables users to create custom commerce solutions that meet their specific needs. It provides modular commerce infrastructure that makes custom development processes easier for developers. Medusa leverages cutting-edge infrastructure technologies such as serverless and edge workers to ensure scalability, reliability, and performance.
Mailchimp, on the other hand, is an all-in-one marketing platform that enables users to create and send newsletters, automated emails, and targeted ad campaigns. It also allows users to manage their email lists, track their email campaign performance, and access a range of marketing tools.
In this tutorial, you will learn how to add newsletter subscriptions to your Medusa store using Mailchimp, allowing visitors to sign up for email updates and newsletters. This will enable you to stay in touch with your customers, promote your products and services, and ultimately drive sales. Whether you're running an e-commerce store or a business website, adding newsletter subscriptions is a valuable tool for building a loyal customer base and driving growth.
Prerequisites
Before you get started with the tutorial, make sure that you have the following prerequisites installed on your system:
Node: Medusa is built on Node.js, so you'll need to have Node.js(V16 or later) installed to run Medusa.
Git: Medusa uses Git behind the scenes when you create a new project so you'll have to install it on your computer to get started.
Medusa-CLI: The package provides you instant access to commands that help you manage and run your Medusa project.
You can install Medusa’s CLI with the following command:
npm install @medusajs/medusa-cli -g
You can find the code for the tutorial in this repository.
Setting up Mailchimp
To get started with adding newsletter subscriptions to your Medusa store using Mailchimp, you'll need to set up a Mailchimp account and obtain your API key. Follow the steps below to complete this process:
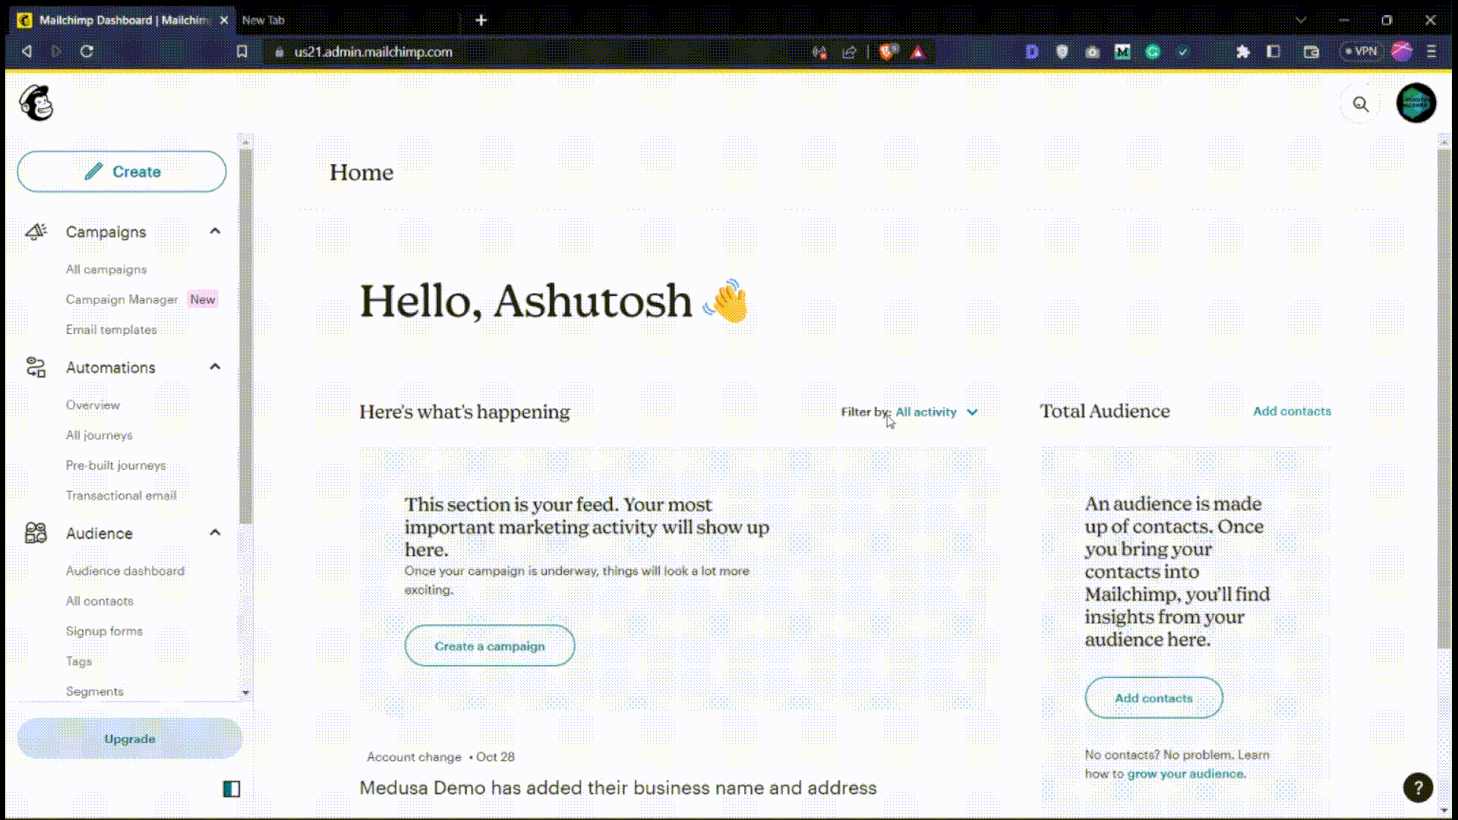
If you haven't already, go to the Mailchimp website and sign up for an account.

Once you've signed up, create a new audience (i.e. mailing list) in Mailchimp. This is where your subscriber information will be stored.
Make sure you take note of your Audience ID shown at the end of the above demo.
Next, you'll need to obtain your API key. Go to your Mailchimp account profile, click on the "Extras" drop-down menu, and select "API keys." From there, you can create a new API key.

Make sure you take note of the newly generated API Key.
Once you've completed these steps, you'll be ready to integrate Mailchimp with your Medusa store and start adding newsletter subscriptions.
Setting up Medusa Backend
The Medusa Backend contains all the store's logic and data. The other two components, Medusa Admin and Storefront use the REST APIs exposed by the backend server to retrieve, create and modify data.
In this section, you’ll set up your Medusa backend. Create a new Medusa store called my-medusa-store and seed the test data using the following command:
medusa new my-medusa-store --seed
Then, start your Medusa server using the following command:
cd my-medusa-store
medusa develop
The above two steps take a couple of minutes to set up and run your server on port 9000. You can test your server by going to http://localhost:9000/store/products on your browser or by running the following command:
curl localhost:9000/store/products
If your server is successfully set up, you will see a list of products and other details.
Medusa Mailchimp Plugin
Plugins are add-ons that extend the functionality of Medusa. They are designed to work seamlessly with Medusa's modular architecture, allowing users to easily add new features to their commerce setup. The Medusa Mailchimp plugin is one such plugin that enables you to add newsletter subscriptions to your Medusa store using Mailchimp.
To install the Medusa Mailchimp plugin, follow these steps:
Navigate to the directory of your Medusa backend and run the following command to install the Mailchimp plugin:
npm install medusa-plugin-mailchimpOnce the installation is complete, add the plugin to your Medusa project's configuration file (
medusa-config.js):const plugins = [ // ..., { resolve: `medusa-plugin-mailchimp`, options: { api_key: process.env.MAILCHIMP_API_KEY, newsletter_list_id: process.env.MAILCHIMP_NEWSLETTER_LIST_ID, }, }, ]If you noticed above, you're using two environment variables -
MAILCHIMP_API_KEYandMAILCHIMP_NEWSLETTER_LIST_ID. Thus, next you need to add these two environment variables to the.envfile:MAILCHIMP_API_KEY=<YOUR_API_KEY> MAILCHIMP_NEWSLETTER_LIST_ID=<YOUR_NEWSLETTER_LIST_ID>Replace
<YOUR_API_KEY>with your Mailchimp API key, which you created in Mailchimp earlier, and<YOUR_NEWSLETTER_LIST_ID>with your Audience ID. I hope you had noted them.
Once you've completed these steps, the Medusa Mailchimp plugin will be installed and configured to work with your Mailchimp account.
Test it Out
The Medusa Mailchimp plugin adds a new POST endpoint to your Medusa server at /mailchimp/subscribe. To subscribe to your Mailchimp audience, users need to include an email field in the body of their request. Additionally, users can optionally include a data object in the request body to send any additional data they want to include in the subscription request.
Make sure your backend server is running to test things out.
You can test the /mailchimp/subscribe endpoint by sending a POST request with a JSON body that includes an email address. You can use the following curl command to send a POST request:
curl -X POST -H "Content-Type: application/json" -d '{"email": "example@gmail.com"}' http://localhost:9000/mailchimp/subscribe
Running this command will send a POST request to the /mailchimp/subscribe endpoint with a JSON body that includes the email address example@gmail.com.
Note: You can also use tools such as Postman and Talend API Tester to make requests.
If the subscription is successful, a 200 response code will be returned with OK message. If you check your Mailchimp dashboard, you should find the email added to your Audience list.

You can also send additional data with the request as shown below:
curl -X POST -H "Content-Type: application/json" -d '{"email": "demo@gmail.com", "data": {"tags": ["demouser"]}}' http://localhost:9000/mailchimp/subscribe
You can see demouser in the tags of the subscribed email.

Setting up Medusa Storefront
You'll add the newsletter subscription form to your Medusa storefront. Storefront is the frontend or the main presentation layer of your ecommerce store. It is the storefront where your customers can view and purchase your products.
In this section, you'll set up your Next.js Storefront using the starter template provided by Medusa.
Create a new Medusa storefront by running the following command:
npx create-next-app -e https://github.com/medusajs/nextjs-starter-medusa my-medusa-storefront
Next, navigate to the newly created my-medusa-storefront directory and rename the template environment variable file to use environment variables in development:
cd my-medusa-storefront
mv .env.template .env.local
Finally, make sure the Medusa server is running, then run the storefront:
npm run dev
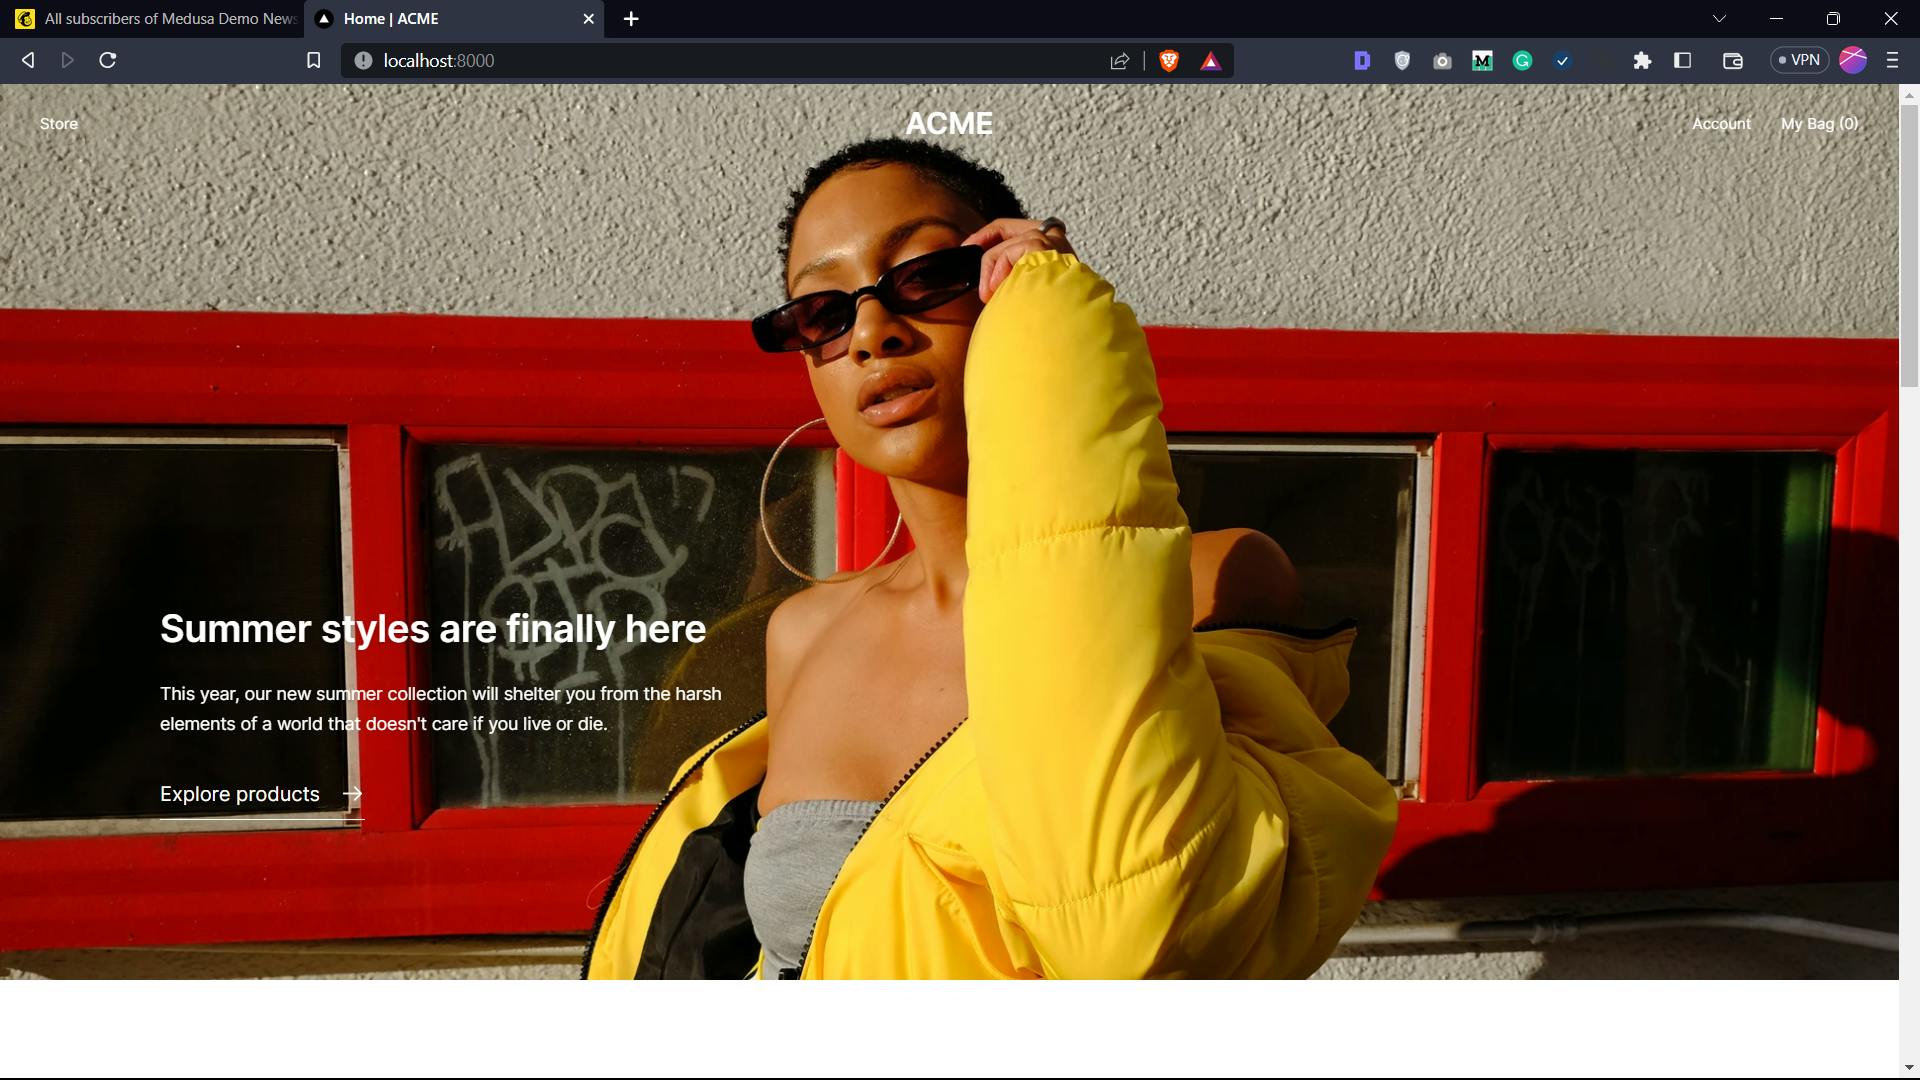
Your Next.js storefront is now running at localhost:8000.
Adding a Newsletter Subscription Form
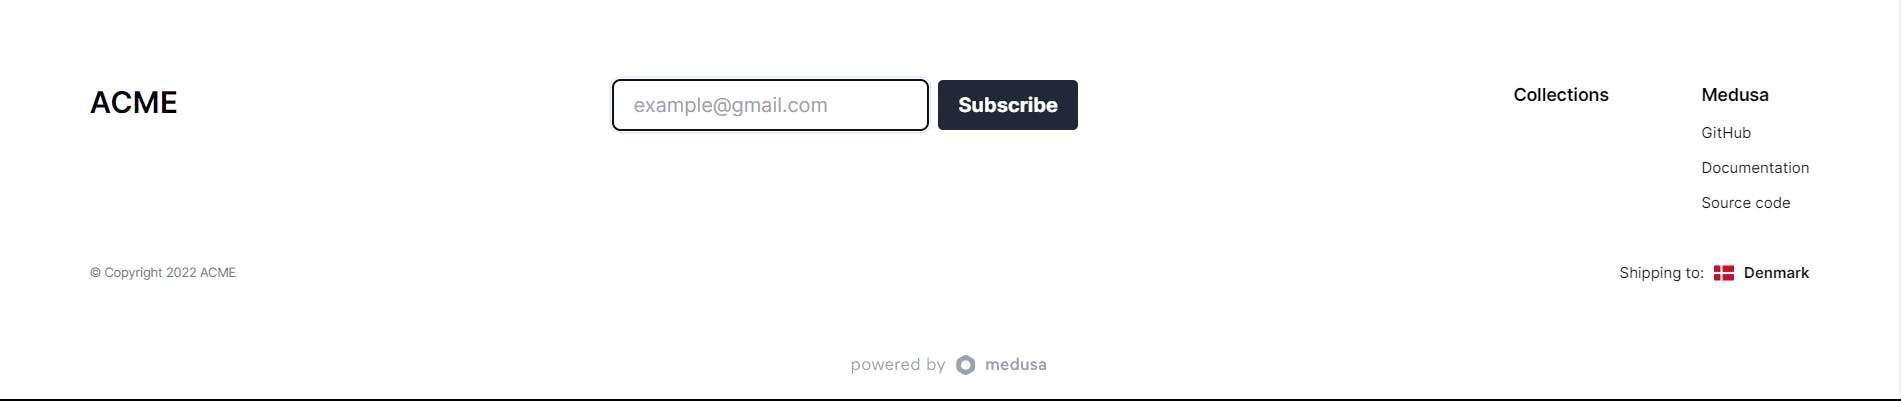
In this section, you will add a newsletter subscription form to your Medusa storefront. The form will have just an input field for the users to enter their email addresses and a button to subscribe.
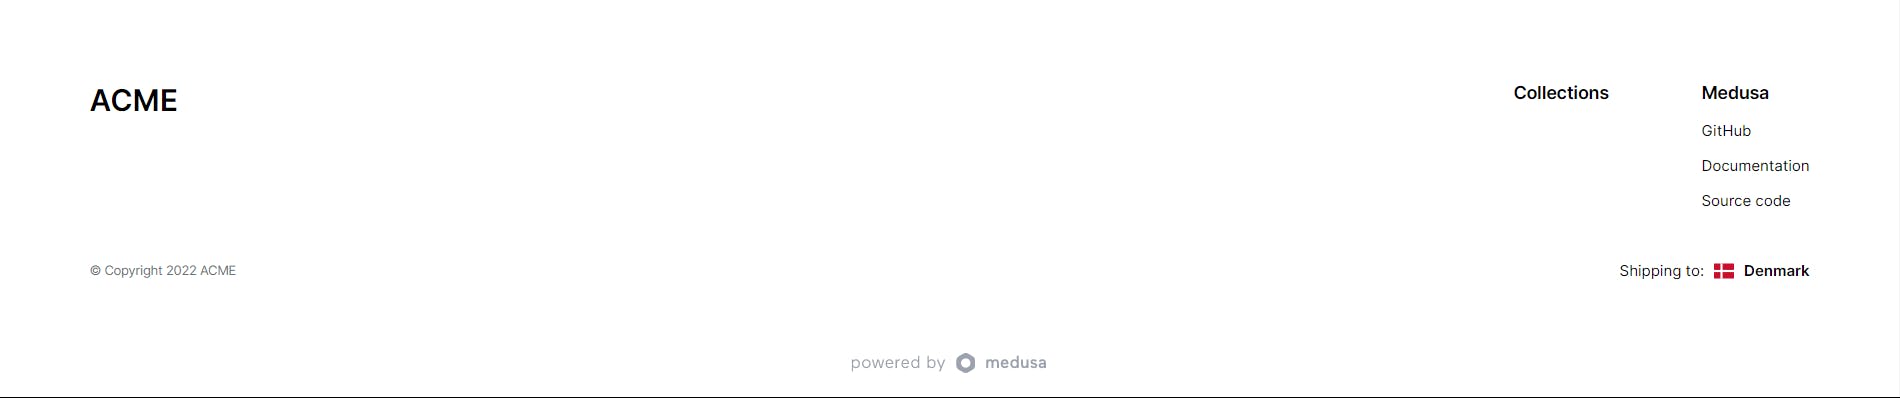
If you take a look at the footer of the application, it looks a bit empty. You can add the form here.
Create a New Component
To add the newsletter subscription form, create a new file named newsletter.tsx inside the src/modules/layout/components/footer-nav folder where the footer component code is located.
Create a new NewsletterForm component in the file as:
const NewsletterForm = () => {
}

export default NewsletterForm
Next, create a form with an input field for the email and a button to subscribe.
const NewsletterForm = () => {
  return (
    <form>
      <div className="flex">
        <input
          type="email"
          name="email"
          id="email"
          className="border-gray-300 focus:border-blue-300 focus:ring focus:ring-blue-200 focus:ring-opacity-50 rounded-md shadow-sm w-full px-4"
          placeholder="example@gmail.com"
        />

        <button
          type="submit"
          className="ml-2 bg-gray-800 hover:bg-gray-700 text-white font-bold py-2 px-4 rounded"
        >
          Subscribe
        </button>
      </div>
    </form>
  )
}

export default NewsletterForm
In the above code, you returned a form from the NewsletterForm component. The form consists of an email input field and a subscribe button. The email input field is of type "email" with a placeholder text "example@gmail.com". It has a gray border and rounded corners. On focus, the border becomes blue with a light blue ring around it.
The subscribe button is styled with a gray background, white text, and rounded corners. On hover, the background color becomes darker gray.
This component does not currently have any functionality associated with the subscribe button. In a later section, you'll connect it to the backend server to handle the subscription process when the button is clicked.
Use the NewsletterForm component
Now that you've created the NewsletterForm component, you are ready to use it. Open the footer-nav/index.tsx file and import the component:
import NewsletterForm from "./newsletter"
Next, use the component as below:
const FooterNav = () => {
  const { collections } = useCollections()
    return (
    <div className="content-container flex flex-col gap-y-8 pt-16 pb-8">
      <div className="flex flex-col gap-y-6 xsmall:flex-row items-start justify-between">
        <div>
          <Link href="/">
            <a className="text-xl-semi uppercase">Acme</a>
          </Link>
        </div>
        <div className="flex gap-x-4">
          <NewsletterForm />
        </div>
        ...
      </div>
    </div>
    )
}

export default FooterNav
Now, if you take a look at your footer, you'll have a newsletter form created.
Adding Button Functionality
After creating the newsletter subscription form, the next step is to add the subscription functionality to the button. To do this, you need to create a function that will send the email address to your server when the user clicks the "Subscribe" button.
First, you need to import the useState hook from React in your NewsletterForm component. You will use this hook to manage the state of the email input field.
import { useState } from "react";
Next, you will initialize the state of the email input field to an empty string using the useState hook.
import { useState } from "react"

const NewsletterForm = () => {
  const [email, setEmail] = useState("")

  return (
    ...
  )
}

export default NewsletterForm
Then, you need to add an onChange event handler to the email input field that will update the email state whenever the user types in a new email address.
<input
  type="email"
  name="email"
  id="email"
  className="border-gray-300 focus:border-blue-300 focus:ring focus:ring-blue-200 focus:ring-opacity-50 rounded-md shadow-sm w-full px-4"
  placeholder="example@gmail.com"
  value={email}
  onChange={(e) => setEmail(e.target.value)}
/>
Now, you will add the subscription functionality to the button. When the user clicks the "Subscribe" button, the form gets submitted. You'll create a function that will be called when the form is submitted.
const subscribe = (e: React.FormEvent<HTMLFormElement>) => {
  e.preventDefault()
  if (!email) {
    return
  }

  fetch("http://localhost:9000/mailchimp/subscribe", {
    method: "POST",
    headers: {
      "Content-Type": "application/json",
    },
    body: JSON.stringify({ email }),
  })
    .then((response) => response.json())
    .then(() => {
      alert("Subscribed successfully!")
      setEmail("")
    })
    .catch((e) => {
      console.error(e)
      alert("An error occurred")
    })
}
The subscribe function takes in a React.FormEvent<HTMLFormElement> event as an argument. This event is triggered when the form is submitted. Inside the function, the first thing you do is prevent the default behavior of the form as you don't want the page to reload or redirect. Next, it checks if the email variable has a value. If it doesn't, the function returns and doesn't proceed further.
Then, it uses fetch to make a POST request to the specified URL http://localhost:9000/mailchimp/subscribe. The method property of the fetch call is set to "POST", and the "Content-Type" header is set to "application/json". The body property of the fetch call is set to a JSON string that contains an object with a single key-value pair: { email: email }. This is the email that the user has entered into the form.
Once the request is made, the response is received and converted to JSON format by calling response.json(). The function then displays a success message using alert("Subscribed successfully!") and clears the email variable by calling setEmail("").
If there is an error, it is caught and logged to the console using console.error(e), and an error message is displayed to the user using alert("An error occurred").
The form now has an onSubmit attribute that is set to the subscribe function. When the form is submitted by clicking the Subscribe button, the subscribe function is called.
import { useState } from "react"

const NewsletterForm = () => {
  const [email, setEmail] = useState("")

  const subscribe = (e: React.FormEvent<HTMLFormElement>) => {
    ...
  }

  return (
    <form onSubmit={subscribe}>
      ...
    </form>
  )
}

export default NewsletterForm
Now, if you test the application, it should be working.

Improving the User Experience
While the basic functionality of the subscription form is in place, the user is unaware of the background process when clicking the subscribe button. To improve the user experience, you can include a loader to indicate that the form is processing. Additionally, the current alert box for success or error notifications can be replaced with a message that appears below the input field, providing a cleaner and more visually appealing interface. In this section, you'll add these improvements.
Adding a Loader
To add a loader to the existing NewsletterForm component, you can first import the necessary components and hooks from the @headlessui/react library and a Spinner component from your project's modules.
import { Dialog, Transition } from "@headlessui/react"
import Spinner from "@modules/common/icons/spinner"
Next, you can create a new state variable isLoading using the useState hook and initialize it to false.
const NewsletterForm = () => {
  ...
  const [isLoading, setIsLoading] = useState(false)

  ...
}
You can then add a Transition component and conditionally render a Dialog component with a spinner inside it when isLoading is true.
import { useState } from "react"
import { Dialog, Transition } from "@headlessui/react"
import Spinner from "@modules/common/icons/spinner"

const NewsletterForm = () => {
  ...

  return (
    <div>
      <form onSubmit={subscribe}>
        ...
      </form>

      {isLoading && (
        <Transition show={isLoading}>
          <Dialog
            onClose={() => setIsLoading(false)}
            className="relative z-[100]"
          >
            <Transition.Child
              enter="ease-out duration-500"
              enterFrom="opacity-0"
              enterTo="opacity-100"
              leave="ease-in duration-500"
              leaveFrom="opacity-100"
              leaveTo="opacity-0"
            >
              <div className="fixed inset-0 bg-white bg-opacity-50 flex items-center justify-center">
                <Spinner size={24} />
              </div>
            </Transition.Child>
          </Dialog>
        </Transition>
      )}
    </div>
  )
}

export default NewsletterForm
To show the loader during form submission, you can set isLoading to true just before making the fetch call and set it back to false in a finally() block.
const subscribe = (e: React.FormEvent<HTMLFormElement>) => {
    e.preventDefault()
    if (!email) {
      return
    }

    setIsLoading(true) // show loader

    fetch("http://localhost:9000/mailchimp/subscribe", {
      method: "POST",
      headers: {
        "Content-Type": "application/json",
      },
      body: JSON.stringify({ email }),
    })
      .then((response) => {
        if (!response.ok) {
          throw new Error(response.statusText)
        }
        return response.text()
      })
      .then((text) => {
        if (text === "OK") {
          alert("Subscribed successfully!")
          setEmail("")
        } else {
          throw new Error("Unexpected response from server")
        }
        setEmail("")
      })
      .catch((e) => {
        console.error(e)
        alert("An error occurred")
      })
      .finally(() => {
        setIsLoading(false) // hide loader
      })
  }
Alternatively, you could have set the loader to false in the .then() and .catch() blocks also.
With the addition of the loader, the NewsletterForm component will now display a spinner to indicate that the form is being submitted. This will help users understand that something is happening in the background and prevent them from submitting the form multiple times. The spinner will be shown until the request is completed, whether it was successful or not, and will be hidden once the process is complete. This improved user experience will make the form more user-friendly and professional-looking.
Adding a Message
Next, you need to replace the alert boxes with appropriate messages. To do so, you need to add a state variable to keep track of the message to be displayed. Create a new state variable message using the useState hook and initialize it to null.
const [message, setMessage] = useState<Message | null>(null)
The Message here is a custom interface that defines the shape of the data that you want to store in the message state variable. You need this interface to enforce a specific structure on the data that you want to store in the message state variable, which helps you avoid errors when accessing or manipulating the data.
You can create the Message interface before the NewsletterForm component as:
interface Message {
  type: string
  description: string
}

const NewsletterForm = () => {
  ...
}

export default NewsletterForm
The Message that has two properties: type and description, both of which are strings.
Next, you need to update the subscribe function to set the message based on the response from the server.
const subscribe = (e) => {
  e.preventDefault()
  if (!email) {
    setMessage({
      type: "error",
      description: "Email cannot be empty!",
    })
    return
  }
  setIsLoading(true)

  fetch("http://localhost:9000/mailchimp/subscribe", {
    method: "POST",
    headers: {
      "Content-Type": "application/json",
    },
    body: JSON.stringify({ email }),
  })
    .then((response) => {
      if (!response.ok) {
        throw new Error(response.statusText)
      }
      return response.text()
    })
    .then((text) => {
      if (text === "OK") {
        setMessage({
          type: "success",
          description: "Subscribed successfully!",
        })
        setEmail("")
      } else {
        throw new Error("Unexpected response from server")
      }
      setEmail("")
    })
    .catch((e) => {
      console.error(e)
      setMessage({
        type: "error",
        description: "An error occurred",
      })
    })
    .finally(() => {
      setIsLoading(false)
    })
}
When the user clicks the subscribe button, the function checks if the email field is empty. If it is, it sets a message with the type error and description "Email cannot be empty".
if (!email) {
  setMessage({
    type: "error",
    description: "Email cannot be empty!",
  })
  return
}
When the response comes back, the function checks whether the response is OK. If it is, it sets a message with the type success and description "Subscribed successfully!" and clears the email field.
if (text === "OK") {
  setMessage({
    type: "success",
    description: "Subscribed successfully!",
  })
  setEmail("")
}
If the response is not OK, it sets a message with the type error and description "An error occurred". Finally, the isLoading state is set to false.
.catch((e) => {
  console.error(e)
  setMessage({
    type: "error",
    description: "An error occurred",
  })
})
Moreover, it is important to ensure that if a message is already visible and the user starts typing again, the message should be set to null.
onChange={(e) => {
  setEmail(e.target.value)
  setMessage(null)
}}
Now that you have the message state set up, you can conditionally display the message:
import { useState } from "react"
import { Dialog, Transition } from "@headlessui/react"
import Spinner from "@modules/common/icons/spinner"

interface Message {
  type: string
  description: string
}

const NewsletterForm = () => {
  ...

  return (
    <div>
      <form onSubmit={subscribe}>
        ...
      </form>

      {isLoading && (
        <Transition show={isLoading}>
          ...
        </Transition>
      )}

      {message && (
        <div
          className={`mt-2 text-sm font-medium ${
            message.type === "success" ? "text-green-600" : "text-red-600"
          }`}
        >
          {message.description}
        </div>
      )}
    </div>
  )
}

export default NewsletterForm
Demo
Now that you have everything set up successfully, it's time to see the final demo of the application you've built.

Conclusion
In this tutorial, you learned the importance of adding a newsletter service to increase customer engagement and sales. You then went through the process of adding a newsletter subscription service to your Medusa store.
This implementation was possible because of Medusa’s composable architecture. You can learn more about Medusa through its documentation.