Build AI Apps with Gradio: Turn Your Python Scripts into Web Apps
A Beginner-Friendly Guide to Rapid UI Prototyping for AI Engineers
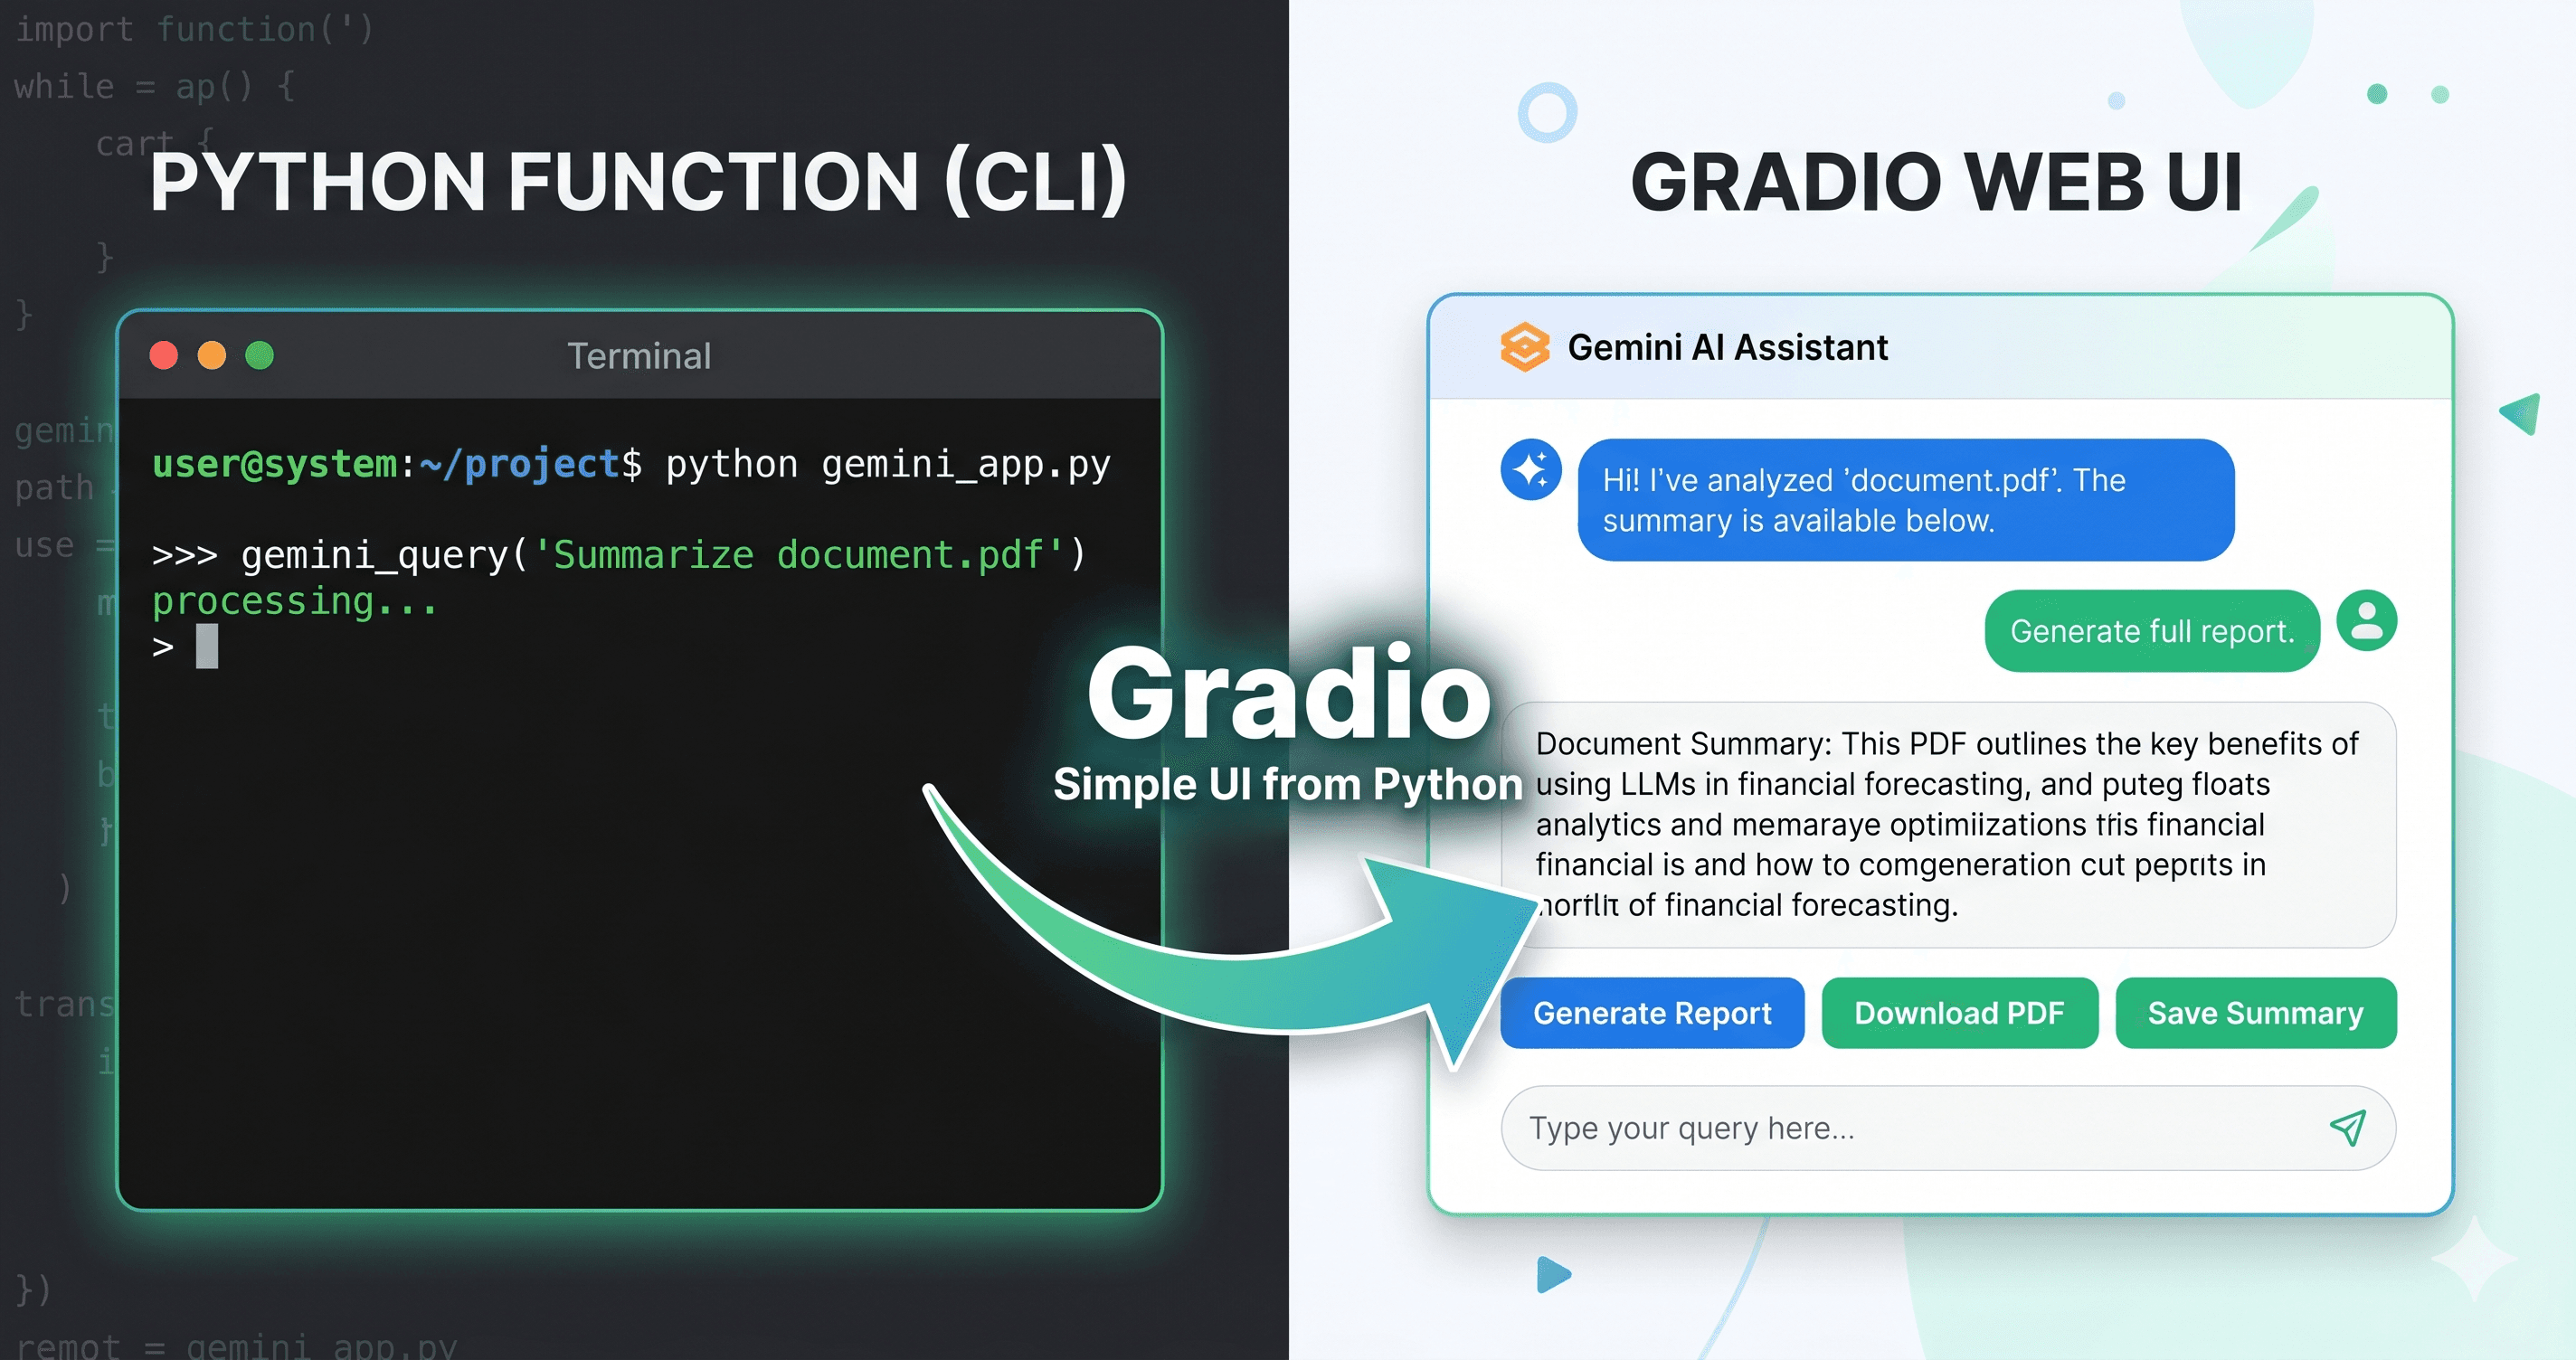
You build a machine learning model or a chatbot in Python. It works perfectly. The logic is solid, the API calls are fast, and the responses are exactly what you want.
But there is a problem. The entire experience is stuck inside a terminal.
Terminal interfaces are great for learning and debugging. However, nobody wants to impress users, stakeholders, or teammates with a blinking terminal cursor forever. Real users expect web interfaces with buttons, text boxes, and clean layouts.
Building a modern frontend app from scratch takes time. You have to set up React, configure a backend framework like FastAPI, manage CORS issues, and write API endpoints just to show a simple text generation result. This frontend work drastically slows down experimentation. AI engineers need to build fast prototypes, test ideas, and share them immediately.
This is where Gradio comes in.
Gradio basically lets Python developers cosplay as frontend developers for a day. It allows you to turn raw Python functions into interactive, shareable web applications in minutes (without writing a single line of HTML, CSS, or JavaScript).
In this article, we will take a simple terminal-based Gemini chatbot and convert it into a clean, modern web application.
What is Gradio?
Gradio is an open-source Python library designed specifically for building interactive web apps around machine learning models and AI scripts.
You can think of Gradio as a translation layer between your Python code and a web browser. You define the inputs your function expects (like text or images) and the outputs it returns. Gradio automatically generates a user interface that matches those parameters.
It has become massive in the AI community. If you visit Hugging Face Spaces (a popular platform for hosting AI demos), almost everything is built with Gradio. Developers love it because it requires minimal setup, enables fast iteration, and handles all the messy frontend logic under the hood.
Here is a high-level look at how it works:

The user types a message in the browser.
The Gradio UI sends that text to your Python backend.
Your Python function processes the text (calling the Google Gemini API).
The API returns the response to your function.
Gradio automatically updates the web UI with the new data.
Installing and Setting Up Gradio
Before we write code, we need a clean environment. Creating a virtual environment keeps your project dependencies isolated from the rest of your system.
Open your terminal and run these commands:
# Create a virtual environment
python -m venv ai_app_env

# Activate the environment (Mac/Linux)
source ai_app_env/bin/activate

# Activate the environment (Windows)
ai_app_env\Scripts\activate

# Install dependencies
pip install gradio google-genai python-dotenv
We are installing gradio for our UI framework, google-genai to access the free tier of Gemini models, and python-dotenv to securely manage our API keys.
Instead of exposing your API key in the terminal or hardcoding it into your script, we will use a .env file. This is a standard engineering practice to keep secrets safe.
Create a file named .env in your project folder. Go to Google AI Studio, grab your free API key, and add it to the file like this:
GEMINI_API_KEY=your_actual_api_key_here
Important: If you are using Git, make sure to add
.envto your.gitignorefile so you do not accidentally publish your key to the internet.
Build Your First Gradio App
Let us start with the simplest possible example to see how Gradio wires things together. We will build an app that takes a user's name and returns a greeting.
Open 01_greeting_app.py and add this code:
import gradio as gr


# 1. Define the core Python logic
def greet_user(name):
    return f"Hello, {name}! Welcome to your first AI app."


# 2. Create the Interface
demo = gr.Interface(
    fn=greet_user,
    inputs="text",
    outputs="text",
    title="Greeting Generator",
    description="Enter your name to get a custom greeting."
)

# 3. Launch the web server
if __name__ == "__main__":
    demo.launch()
This script introduces the most important class in the library: gr.Interface.
fn=greet_user: We tell Gradio exactly which Python function to run when a user interacts with the app.inputs="text": We tell Gradio what kind of data the function expects. Because we said "text", Gradio automatically renders an HTML text box on the screen.outputs="text": We tell Gradio what kind of data the function returns. Gradio renders another text box to display the result.demo.launch(): This kicks off a local web server (powered by FastAPI under the hood) and opens the connection to your browser.
Run the script in your terminal:
python 01_greeting_app.py
You will see an output like Running on local URL: http://127.0.0.1:7860. Open that link in your browser.

Congratulations, you just built your first Gradio app. Go ahead and play around with it. Enter your name, your pet's name, or a random string of characters. It is a small step, but it is time to greet your new life as an AI UI developer.
The gr.Interface class does the heavy lifting here. It takes three crucial arguments:
fn: The Python function to run.inputs: The UI component for the function's arguments.outputs: The UI component for the function's return value.
Gradio inspects this configuration and generates the HTML, wires up the API endpoints, and handles the button clicks for you.
Convert Terminal Logic into a Web App
If you have ever built a Python chatbot before, you likely used a while True: loop to capture user input from the terminal continuously. That works, but it scales poorly.
We are going to replace the terminal loop with a Gradio chat interface. To do this, we need to handle conversation state. The Gemini API expects to see the full history of the conversation to answer context-aware questions. Gradio's ChatInterface automatically tracks history, so we just need to map Gradio's history format into the format Gemini expects.
Create a new file named 02_basic_chatbot.py for this step:
import gradio as gr
from dotenv import load_dotenv
from google import genai
from google.genai import types

# Load environment variables from the .env file
load_dotenv()

# Initialize the Gemini client (it automatically picks up the GEMINI_API_KEY env variable)
client = genai.Client()


def chat_with_ai(user_message, history):
    # Convert Gradio history format to Gemini's expected types.Content format
    contents = []
    for human_text, ai_text in history:
        contents.append(types.Content(role="user", parts=[
                        types.Part.from_text(text=human_text)]))
        contents.append(types.Content(role="model", parts=[
                        types.Part.from_text(text=ai_text)]))

    # Append the current user message
    contents.append(types.Content(role="user", parts=[
                    types.Part.from_text(text=user_message)]))

    # Configure system instructions
    config = types.GenerateContentConfig(
        system_instruction="You are a helpful engineering assistant."
    )

    # Call the free-tier Gemini model
    response = client.models.generate_content(
        model="gemini-2.5-flash",
        contents=contents,
        config=config
    )

    return response.text


# Create the Chat Interface
demo = gr.ChatInterface(
    fn=chat_with_ai,
    title="Gemini Engineering Assistant",
    description="Ask me anything about Python or system design."
)

if __name__ == "__main__":
    demo.launch()
This file introduces gr.ChatInterface, which is a specialized shortcut for building chatbots. It expects your function to accept exactly two arguments: the new user_message and the history.
The trickiest part here is translating data formats. Gradio 6 formats chat history using OpenAI's standard structure (a list of dictionaries). However, the Gemini API uses its own specific object structure.
Let us break down the for msg in history: loop:
Role Mapping: Gradio calls the AI an
"assistant". Gemini calls it a"model". We use a simple inlineifstatement to translate this.Text Extraction: Gradio supports multimodal chat (images and text together). Because of this, it stores message content as a list of blocks. We use a list comprehension (
"".join([...])) to sift through the blocks, find the text ones, and combine them into a single string.Building Gemini Objects: We wrap our extracted text and role inside
types.Contentandtypes.Part.from_text. This is strictly required by thegoogle-genailibrary.
Once the history is formatted, we append the brand-new user message, pass it to gemini-3.5-flash, and return the text response. Gradio handles rendering the chat bubbles automatically.
Run it using python 02_basic_chatbot.py.
Play around with the chat. Ask it to explain a Python concept, write a haiku, or help you debug a script. The bottom line here is that you just built a functional web interface for a powerful LLM in under 50 lines of code.
Understanding Gradio Components
gr.Interface and gr.ChatInterface are great shortcuts, but building custom apps requires knowing the individual puzzle pieces. Gradio provides dozens of UI components.
Here are the most common ones you will use in AI development:
gr.Textbox: Used for standard text entry or displaying plain text outputs. You can configure it to have multiple lines or placeholder text.gr.Chatbot: A specialized display component that renders conversation histories in a familiar text-message bubble format.gr.Button: Triggers Python functions when clicked.gr.Image: Handles image uploads via drag-and-drop or webcam, and can display images generated by computer vision models.gr.File: Allows users to upload documents (PDFs, CSVs, TXT files) and passes the file path directly to your Python script.gr.Markdown: Renders formatted text, tables, and links to make your UI look professional.gr.State: A hidden component that stores variables (like user session data or complex history) across page refreshes without displaying anything on the screen.
These components communicate with your backend automatically. When a user uploads a file, Gradio saves it to a temporary directory and hands your function the file path.
Understanding Blocks
The Interface class is rigid. It always puts inputs on the left and outputs on the right. When you want to build a real application, you need control over the layout.
This is why gr.Blocks exists.
Blocks give you a blank canvas. You can arrange components in rows and columns, add tabs, and assign specific click events to specific buttons.
Let us rebuild our chatbot using Blocks to add a custom layout and a "Clear History" button. Create a new file named 03_custom_layout.py:
import gradio as gr


def respond(message, history):
    # Dummy logic for demonstration
    return f"I received your message: {message}"


with gr.Blocks() as demo:
    gr.Markdown("# Custom Chatbot Layout")

    with gr.Row():
        with gr.Column(scale=4):
            chatbot = gr.Chatbot(height=400)
            msg = gr.Textbox(placeholder="Type a message and press Enter...")

        with gr.Column(scale=1):
            clear_btn = gr.Button("Clear Chat")
            settings = gr.Markdown("### Settings\n(Add dropdowns here later)")

    # Hidden state to store history (Gradio 6 uses list of dicts natively)
    state = gr.State([])

    # Event wiring
    def user_turn(user_message, history):
        # Format the user message exactly how Gradio 6 expects it
        new_msg = {"role": "user", "content": [
            {"type": "text", "text": user_message}]}
        history.append(new_msg)
        return "", history, history  # Returns: clear textbox, update state, update chatbot

    def ai_turn(history):
        # Extract the user's actual text string from the deeply nested history block
        user_message = history[-1]["content"][0]["text"]
        bot_response = respond(user_message, history)

        new_msg = {"role": "assistant", "content": [
            {"type": "text", "text": bot_response}]}
        history.append(new_msg)
        return history, history  # Returns: update state, update chatbot

    # When the user presses Enter in the text box
    msg.submit(user_turn, [msg, state], [msg, state, chatbot], queue=False).then(
        ai_turn, state, [state, chatbot]
    )

    # Clear both the hidden state and the visible UI chatbot
    clear_btn.click(lambda: ([], []), None, [state, chatbot], queue=False)

if __name__ == "__main__":
    demo.launch()
This file introduces several advanced UI concepts.
Layout with
withstatements:gr.Blocks()uses Python's context managers. Everything indented underwith gr.Row():will be placed side-by-side horizontally. Everything indented underwith gr.Column():will be stacked vertically. Thescaleargument dictates how wide the columns are relative to each other.gr.State([]): In standard Python, variables inside functions disappear when the function finishes.gr.Statecreates a persistent, hidden variable attached to the user's browser session. We use it to store our list of message dictionaries.Event Chaining (
.then): Look atmsg.submit(...). When a user hits Enter, we first run theuser_turnfunction. This grabs the text, updates the state, and immediately clears the input box so it feels snappy. We use.then(...)to immediately trigger theai_turnfunction right after.Input and Output Arrays: Notice how
user_turnreturns three things:"", history, history. These map directly to the output array[msg, state, chatbot]. We are telling Gradio: "Set the textbox to an empty string, set the hidden state to the updated history, and set the visual chatbot to the updated history."
Run the code with python 03_custom_layout.py.
Test this out in your browser. Type a few messages, then hit the "Clear Chat" button to watch the state reset perfectly. Welcome to the Gradio block party.
Add Streaming Responses
Have you noticed how modern chat engines print words on the screen one by one? That is called streaming. It prevents the user from staring at a loading spinner for ten seconds while the model generates a long paragraph.
Streaming improves user experience drastically. Gradio supports this natively using Python generators.
Instead of using return to send the final string all at once, we use yield to send incremental updates. Create 04_streaming_chatbot.py:
import gradio as gr
from dotenv import load_dotenv
from google import genai
from google.genai import types

load_dotenv()
client = genai.Client()


def stream_chat(message, history):
    contents = []
    # History parsing logic remains identical to step 2
    for msg in history:
        role = "model" if msg["role"] == "assistant" else "user"
        text_content = "".join(
            [block["text"] for block in msg["content"] if block["type"] == "text"])
        contents.append(types.Content(role=role, parts=[
                        types.Part.from_text(text=text_content)]))

    contents.append(types.Content(role="user", parts=[
                    types.Part.from_text(text=message)]))

    # Enable streaming in the API call
    response_stream = client.models.generate_content_stream(
        model="gemini-3.5-flash",
        contents=contents
    )

    partial_message = ""
    for chunk in response_stream:
        if chunk.text is not None:
            partial_message += chunk.text
            # Yielding updates the UI immediately
            yield partial_message


demo = gr.ChatInterface(
    fn=stream_chat,
    title="Streaming Gemini Chatbot"
)

if __name__ == "__main__":
    demo.launch()
The structural logic here is almost identical to our basic chatbot, but the execution is totally different.
generate_content_stream: Instead of callinggenerate_content(which waits for the whole answer to be ready), we call the streaming version. This returns an iterable stream of small text chunks directly from Google's servers.The
forloop: We iterate over everychunkthat arrives from the stream. We take the new text, append it to ourpartial_messagevariable, and then callyield partial_message.yieldvsreturn: Areturnstatement ends a function immediately. Ayieldstatement pauses the function, sends the current value to Gradio, updates the frontend UI, and then resumes exactly where it left off. This is the magic that creates the typing effect.
Run the file with python 04_streaming_chatbot.py.
Ask the AI a complex question. Watch the text flow in word by word. Play around with it and enjoy that smooth stream of consciousness directly from Gemini.

Upload Files and Build a Simple AI Document Chat
One of the most common AI app ideas is "chat with my document." We can build a basic version of this quickly by combining gr.File with our LLM logic.
We will read the contents of an uploaded text file and inject it into Gemini's system instructions. Create 05_document_qa.py:
import gradio as gr
from dotenv import load_dotenv
from google import genai
from google.genai import types

load_dotenv()
client = genai.Client()


def analyze_document(file_obj, user_question):
    # Prevent crashing if the user clicks Ask without a file
    if file_obj is None:
        return "Please upload a text file first."

    # Read the file text
    with open(file_obj.name, "r", encoding="utf-8") as f:
        file_content = f.read()

    # Inject the file contents directly into the system prompt
    config = types.GenerateContentConfig(
        system_instruction=f"Use this document context to answer questions:\n\n{file_content}"
    )

    response = client.models.generate_content(
        model="gemini-3.5-flash",
        contents=user_question,
        config=config
    )

    return response.text


with gr.Blocks() as demo:
    gr.Markdown("# Document Q&A App")

    with gr.Row():
        file_input = gr.File(label="Upload a .txt file")
        question_input = gr.Textbox(label="Ask a question about the file")

    submit_btn = gr.Button("Ask")

    gr.Markdown("### AI Answer")
    # Using gr.Markdown allows Gemini's bold text, lists, and code blocks to render beautifully
    output_markdown = gr.Markdown(value="Your answer will appear here...")

    submit_btn.click(
        fn=analyze_document,
        inputs=[file_input, question_input],
        outputs=output_markdown  # Send the result straight to the Markdown component
    )

if __name__ == "__main__":
    demo.launch()
This script bridges file management and prompt engineering, and steps up our UI game.
if file_obj is None:: This is a guard clause. If the user hits the "Ask" button before uploading a file, Gradio passesNoneto our function. If we try to openNone, Python will crash. This clause prevents the crash and returns a helpful warning to the user.file_obj.name: When a user drops a file into a Gradio interface, Gradio does not pass the raw binary data to your function. Instead, it securely saves the file to a temporary directory on your machine and passes you an object. Calling.nameretrieves the absolute file path (e.g.,/tmp/gradio/some_file.txt), which we can then open normally using standard Python.System Prompt Injection: We use an f-string to literally paste the entire text of the file into the
system_instruction. We are essentially telling the AI: "Here is everything you need to know. Now, answer the user's question based only on this."Rendering with
gr.Markdown: LLMs naturally respond with Markdown formatting (likebold textor bulleted lists). If we use a standardgr.Textbox, the user sees raw asterisks and hashes. By assigninggr.Markdownto ouroutputsarray, Gradio parses the formatting automatically. Mark my words, formatted text is infinitely easier to read.
Run the script with python 05_document_qa.py.
Upload a .txt file containing an article, a snippet of code, or some meeting notes, and start asking questions. Play around to see how well Gemini pulls facts from your custom context. You can officially file this under "cool things I built today."

Deploying Gradio Apps
Building locally is fun, but you eventually need to share your work.
The fastest way to share a prototype is changing your launch command in any of these scripts:
demo.launch(share=True)
This generates a public gradio.live link valid for 72 hours. It tunnels traffic from the public URL directly to the Python script running on your laptop. It is perfect for showing a quick demo to a coworker over Slack.
For permanent deployment, the standard route is Hugging Face Spaces. Spaces offers free hosting tailored specifically for Gradio apps. You just create a repository, upload your specific Python file (renamed to app.py for Hugging Face) and a requirements.txt file, and Hugging Face handles the server configuration automatically.
Remember, your .env file is only for local development. When deploying to Hugging Face Spaces, you must set your GEMINI_API_KEY inside the repository's settings as a hidden secret so your app continues working securely in the cloud.
Keep in mind that Gradio is optimized for prototyping and internal tools. A basic Gradio app is not designed to handle thousands of concurrent users or complex authentication systems out of the box. Be realistic about your deployment goals.
How Gradio Works Internally
You do not need to know the internals to use Gradio, but understanding them makes debugging much easier.
Under the hood, when you call demo.launch(), Gradio starts a local web server using FastAPI. This server exposes API endpoints based on the functions you defined.
On the frontend, Gradio serves a single-page application (built with Svelte). When a user clicks a button, the Svelte frontend sends an HTTP request to your FastAPI backend. Your Python code runs, processes the data, and returns a JSON response.
If you are using streaming or long-running tasks, Gradio switches from standard HTTP requests to WebSockets. This allows a persistent, two-way connection where your Python script can continuously push text chunks to the browser without waiting for the user to request them.
Common Beginner Mistakes
When developers first start building AI UIs, they usually run into the same handful of issues.
Blocking the UI: Python runs synchronously by default. If your API call takes 20 seconds, the Gradio UI will freeze for 20 seconds. Use asynchronous functions or generators (
yield) to keep the interface responsive.Forgetting State: Python variables inside functions reset on every click. If you need to remember data between clicks (like chat history or user choices), you must pass it through a
gr.Statecomponent or the specialized history arguments.Exposing API Keys: Never hardcode your API keys into your Python scripts. Always use the
.envapproach combined with thepython-dotenvpackage. If you upload a hardcoded key to GitHub, bots will find it in seconds.Handling Large Files Badly: Reading massive datasets entirely into memory will crash your app. If a user uploads a 50MB text file, reading it straight into an LLM prompt will trigger context window boundaries or network timeouts.
When to Use Gradio vs Full Frameworks
Gradio is a specific tool for a specific job.
Use Gradio when:
You want to test an AI idea in an afternoon.
You need to share a prototype with non-technical stakeholders.
You are building an internal utility tool for your team.
You want to host a portfolio project on Hugging Face.
Use Streamlit when:
- Your app is heavily focused on data science, charts, and dashboards rather than pure inputs and outputs. (Streamlit is another great Python UI tool, optimized slightly more for data visualization).
Use FastAPI + React (Full Framework) when:
You are building a production SaaS product.
You need strict user authentication, database management, and complex state routing.
You have thousands of users and need to scale microservices.
Building UIs manually for every AI experiment gets old very quickly. Gradio shines during the discovery phase of software engineering.
Final Thoughts
The distance between an idea and a working web app has never been shorter. Gradio became popular in the AI landscape because it eliminated the frontend bottleneck for machine learning engineers.
Using a free-tier API like Gemini means you can experiment with intelligent text generation models endlessly without running up an infrastructure bill. Separating your code into specific scripts like we did makes it easy to push to GitHub, build a portfolio, and reference past work.
You can find all the separate Python scripts we wrote today neatly organized in this GitHub repository. Feel free to fork it, clone it to your local machine, and use those files as a baseline for your own projects. Take the code examples from this article and experiment. Change the system prompts, tweak the UI blocks, or try uploading different file types.
The fastest way to learn AI engineering is to build things and put them out into the world. Once you turn your Python logic into a working Gradio app, share a screenshot or a screen recording of your project on Twitter/X/LinkedIn. Make sure to tag me at @ashutoshkrris so I can see what you built and help showcase your work.
You have the tools. Now go build some AI apps.